By Shealagh Pope
Cyanotype is a photographic printing process that produces a cyan-blue contact print through ultraviolet (UV) light exposure. Engineers used the process well into the 20th century as a simple and low-cost process to produce copies of drawings, referred to as blueprints. The process uses two chemicals:
- Ferric Ammonium Citrate (Green) – Wikipedia page here
- Potassium Ferricyanide – Wikipedia page here
Neither of these chemicals are carcinogens (i.e. they do not cause cancer), nor are they poisons. Rather, they are irritants. They can itch if splashed on your skin in concentration. They will also irritate your eyes. Under normal usage, cyanotype is purportedly one of the safest of all of the chemical photographic processes.
Wallacks, Deserres, and Galaxy Photo all carry cyanotype kits and chemicals but have been having trouble keeping them in stock. You also can buy paper pre-coated for cyanotypes. https://www.artnews.com/art-news/product-recommendations/best-cyanotype-paper-1234570046/ Or you can get the chemicals and apply them to the paper (or fabric) of your choice. You need to use a paper that can take being wetted and soaked.
Printmaking paper (e.g. Legion Revere, Stonehenge, BFK Rives) work. One advantage of applying the chemicals yourself is that you can brush the solution onto the paper in a pattern. You don’t have to cover the whole sheet of paper in an even field if you don’t want to.
Mixing the chemicals and prepping paper. In subdued lighting, mix equal parts Ferric Ammonium Citrate and Potassium ferricyanide to create the cyanotype sensitizer. Mix only the amount you immediately need, as the sensitizer is stable just 2-4 hours. 200ml of working (mixed) solution is enough to coat roughly 50 A4 sheets.
The paper should be coated away from sunlight. Tungsten light, as found in older lightbulbs, is fine. Paper may be double-coated for denser prints. A foam brush will give you a nice even coat. Leave an untreated border around each page so that you can handle the page without touching the chemicals. (Fingerprints or damp fingertips on the treated paper could affect the image.)
Allow to air dry in the dark. Best to dry flat or the solution drips and pools.
The paper can be prepped and stored in a light-blocking bag or box for up to six months. A heavy black plastic garbage bag (e.g. contractor grade) should work.
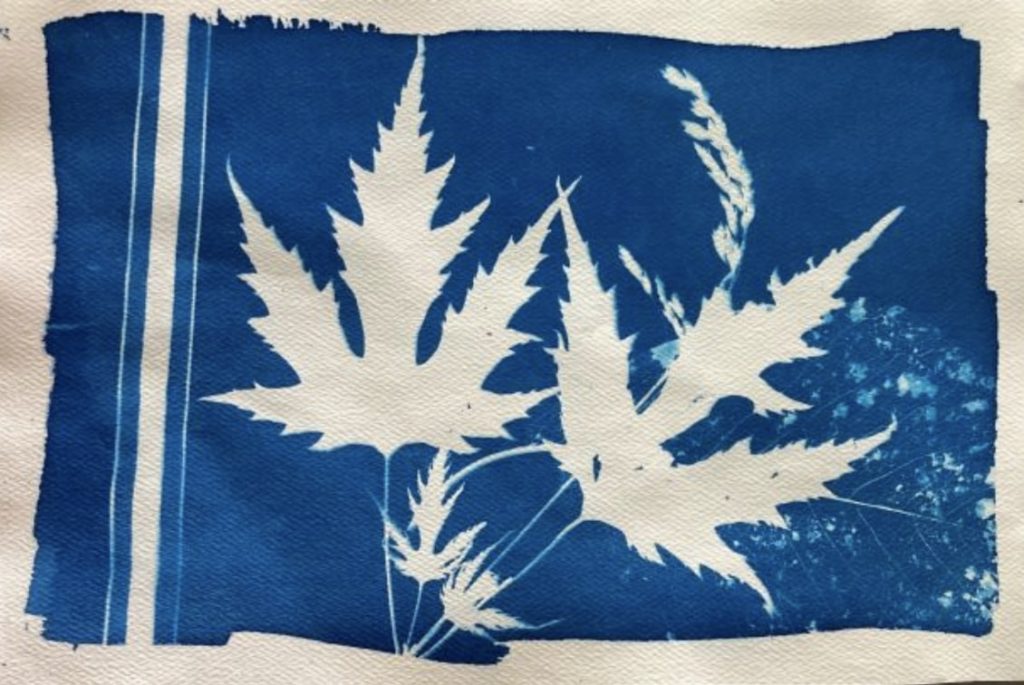
Selecting items for your image. Anything that blocks light – fully or in part – can be used to make a cyanotype. Spots where the light is prevented from reaching the paper will appear as white, once the paper is rinsed.
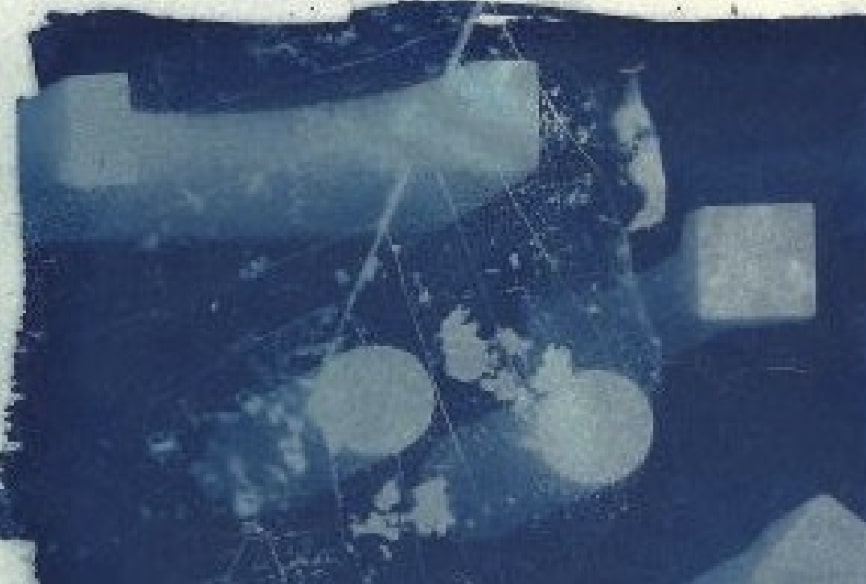
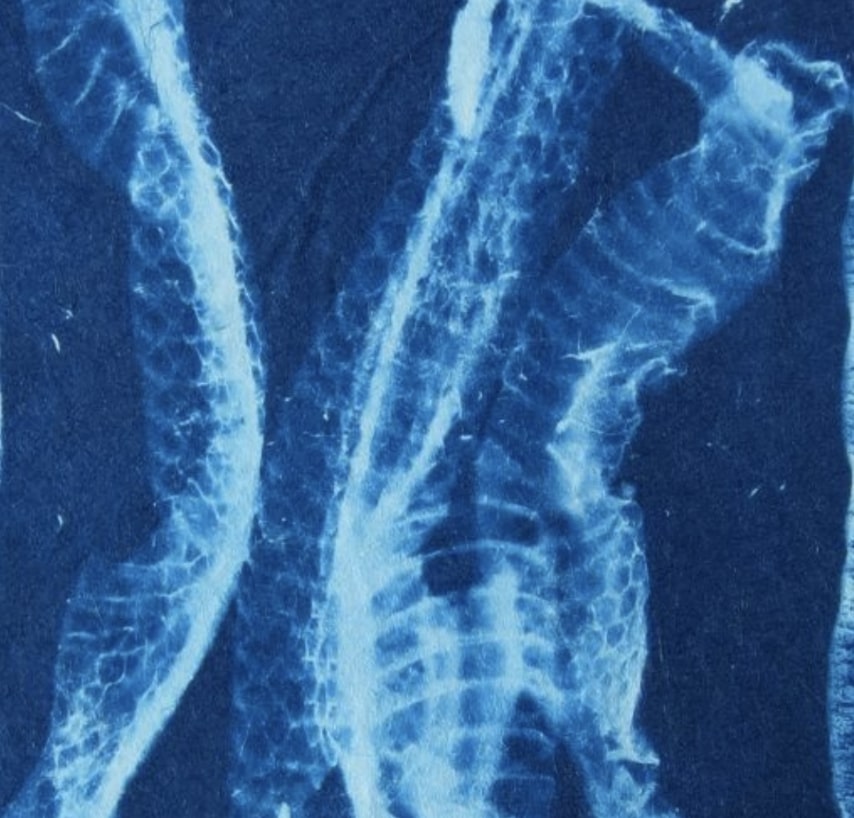
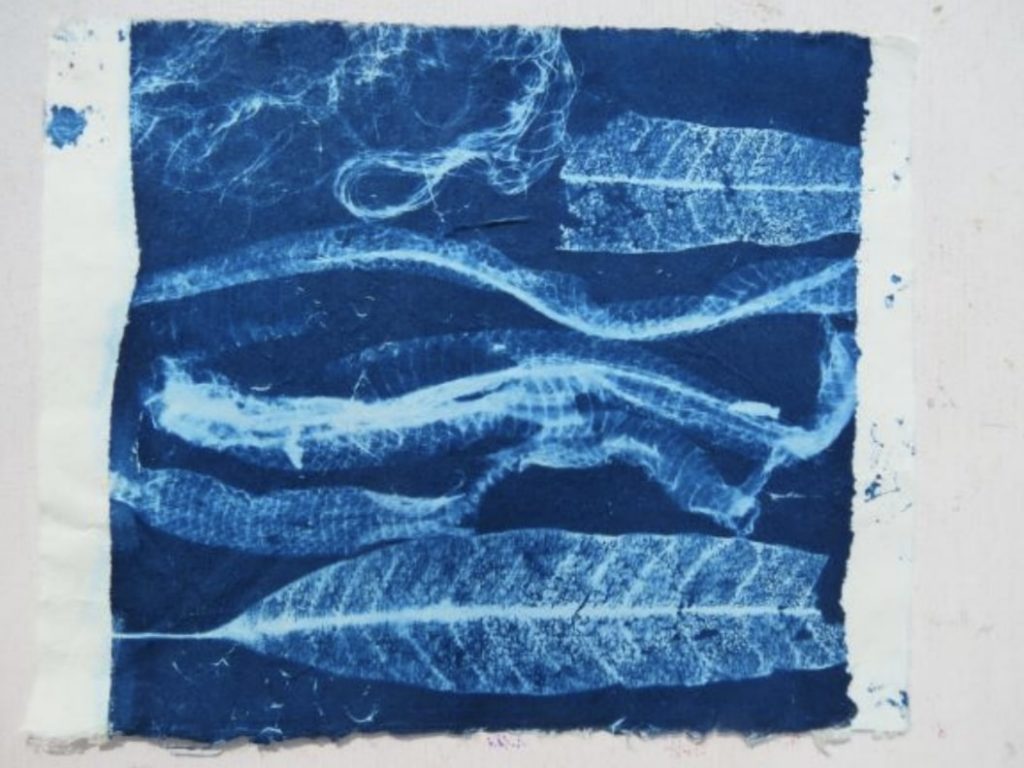
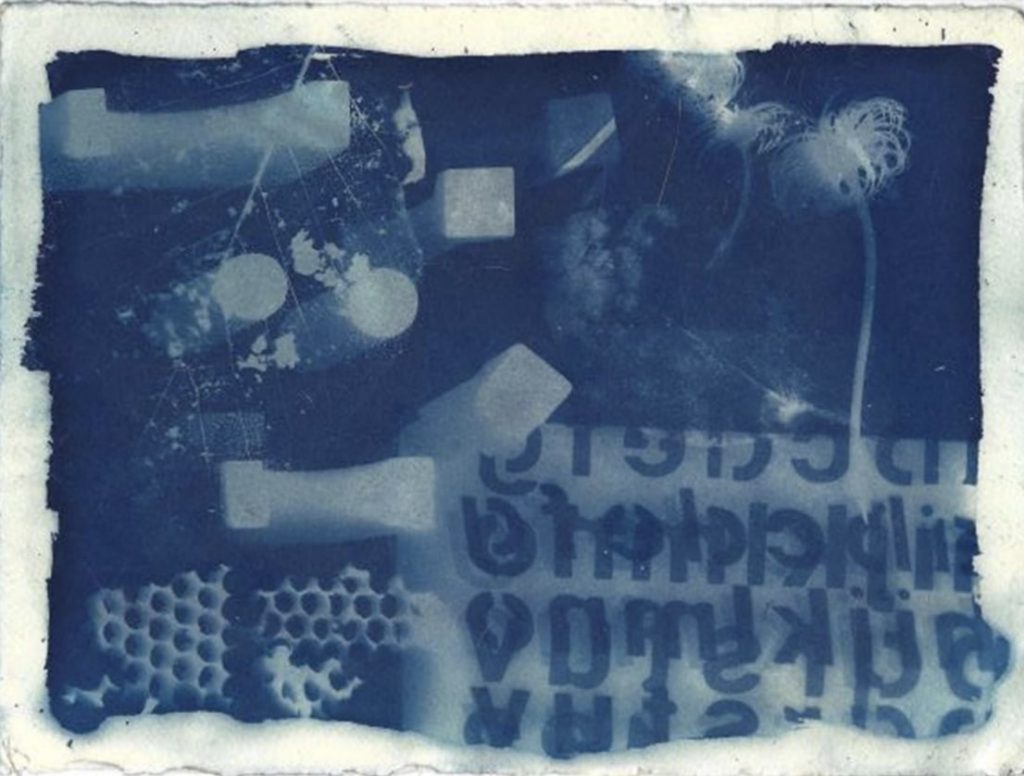
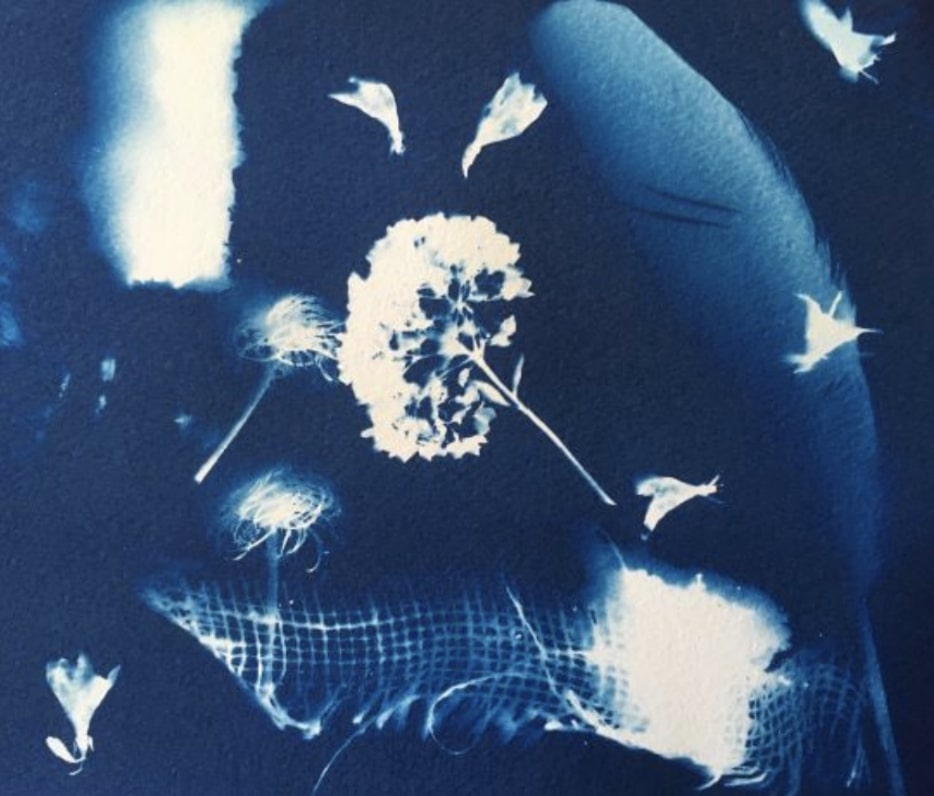
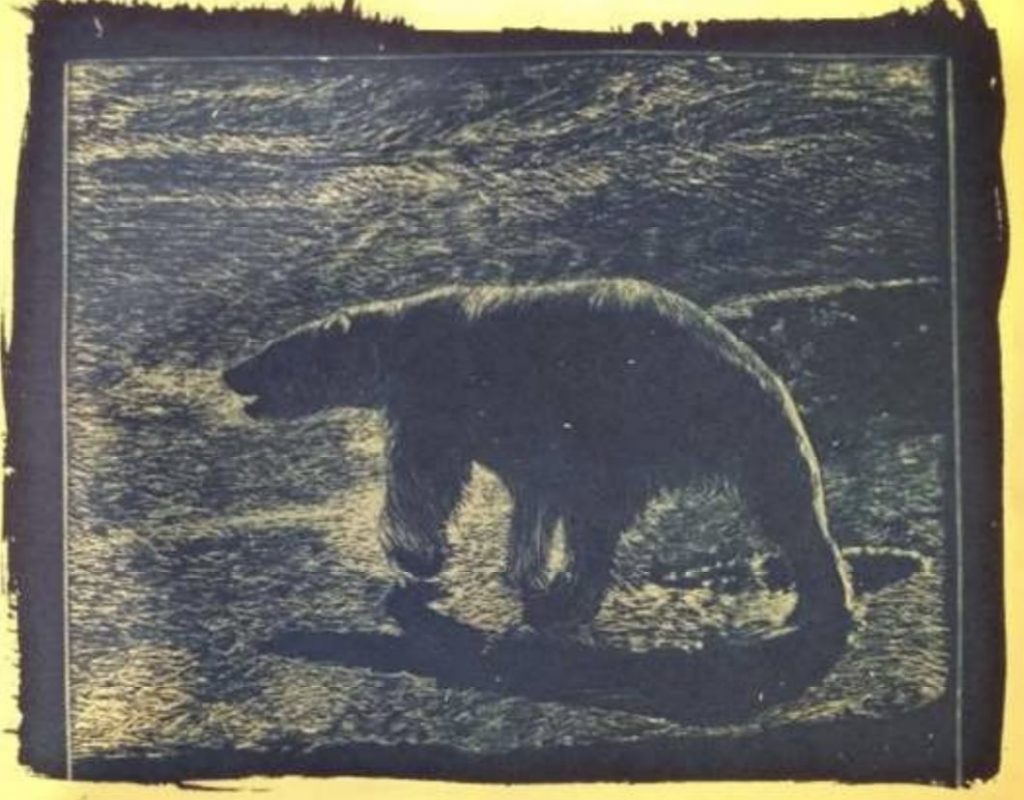
Solid objects – such as a block or a pebble – work like a stencil. Translucent objects will create a graduated impression such as the snakeskin that Val Bridgeman used (left). Taller objects, such as the children’s blocks in Deidre Hierlihy’s print on the right, can cast a graduated “shadow”. Leaves and flowers can produce both solid white and graduated blues depending on their thickness and distance from the paper. A photographic image can be created by printing a negative onto a clear acetate and using the acetate to block the sunlight. Photoshop can be used to make the negative or try http://www.jacquardsolarfast.com/ You also can draw on an acetate, or make a monotype, or use an inked drypoint to produce your cyanotype (see polar bear below printed by Shealagh Pope from a drypoint plate).
Exposing the image. Arrange items to print on the treated paper. Place a piece of glass or acrylic on top to keep objects or negatives flush and to keep them from moving during exposure. You may also use pins, magnets, tape, a printing frame, etc. to secure the film during exposure – although any object that is placed directly on the treated paper or that casts a shadow onto it will create a image on the final print.
Check the thrift store for old picture frames from which you can remove the glass. If you use plexiglas, make sure to peel off the protective coating – as this can block the UV needed to make the image.
For the crispest image, the items to form the image should be pressed as tightly as possible against the treated paper. If using an acetate negative, place the ink side against the treated paper. In the case of the drypoint above, plastic wrap was stretched taut over the inked plate so that the inked side could be placed in contact with the treated paper without transferring ink.
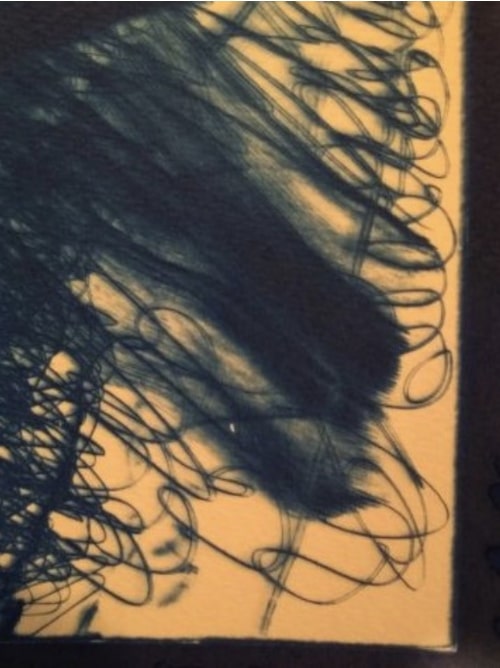
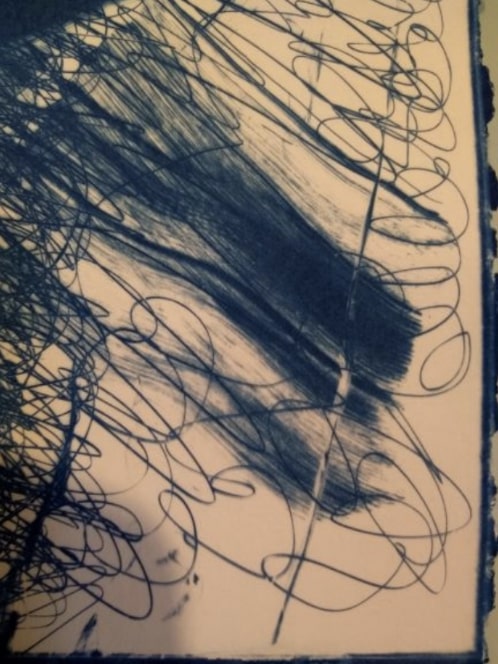
Make exposures in sunlight (1-30 minutes, depending on conditions) or under a UV light source. (Note: Over-exposure is almost always preferred to under-exposure.) For a sharp image, the light source should be perpendicular to the paper. If the sun is your lightsource, exposures at the beginning and end of the day may produce fuzzy images. See images above both printed from the same monotype plate. Note that the ink was on the top side of the plate and, therefore, not in contact with the paper.
Do not wet paper before or during exposure. (Unless you are planning to play with wet cyanotype – a whole other day’s worth of experimenting!) Make sure your hands, the treated paper, and the object(s) are dry when handling the sensitized paper. The print may become splotchy if you touch it with damp hands. Sometime leaves or design elements can produce moisture during exposure. You may also have splashed or dripped on the print prior to washing.
The exposed part of the paper will turn a pale bronze colour. This will let you know the print is ready to wash.
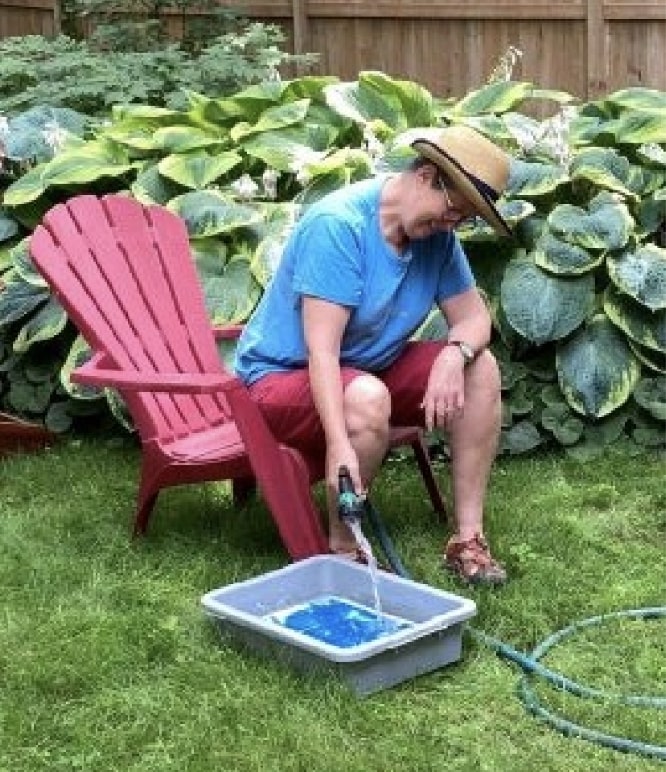
Fixing the image. Process prints in a tray or bucket of cool water. Make sure when you submerge the print in water, you do so swiftly and without splashing. Wash for at least 5 minutes, changing the water periodically, until the water runs clear. Do not use soap. With wetting, the print will change from a bronze to blue colour.
To instantly process prints to the final deep blue color, submerge washed prints in a dilute solution of hydrogen peroxide, then rinse.
Air-dry the prints on a clean clothesline or on newsprint or blotting paper. Dry away from direct sun. If peroxide was not used, prints will slowly oxidize to their final, deep blue color over the course of about 24 hours. If the print darkens during drying, it was probably not thoroughly washed.
If you do not have water to hand, place your exposed paper back in a lightfast bag or box to wash later. (Useful if you take your paper into the field for plein-air cyanotype!)
ADDITIONAL INFO – https://parallaxphotographic.coop/how-to-make-cyanotypes/
• Mold growth may occur in the Ferric Ammonium Citrate (dark green) solution over time. This will not affect the performance of the chemistry. Skim off any mold or decant the solution through a coffee filter before use.
• Sensitized paper or fabric may be stockpiled and stored. Use within 6 months for best results. Store in a cool, dry environment, preferably in a sealed bag to avoid oxidation.
• Coated paper and fabric may darken over time. If it appears dark, it is not necessarily expired; test it—it may just require a longer rinse in hotter water.
• Cyanotype prints are archival. However, yellowing may occur if prints are exposed to phosphates or high pH solutions. Cyanotype printed fabrics should always be laundered in cold water using non-phosphate detergents. Use care while handling cyano-type prints, as sweat and hand oils may also cause discoloration.
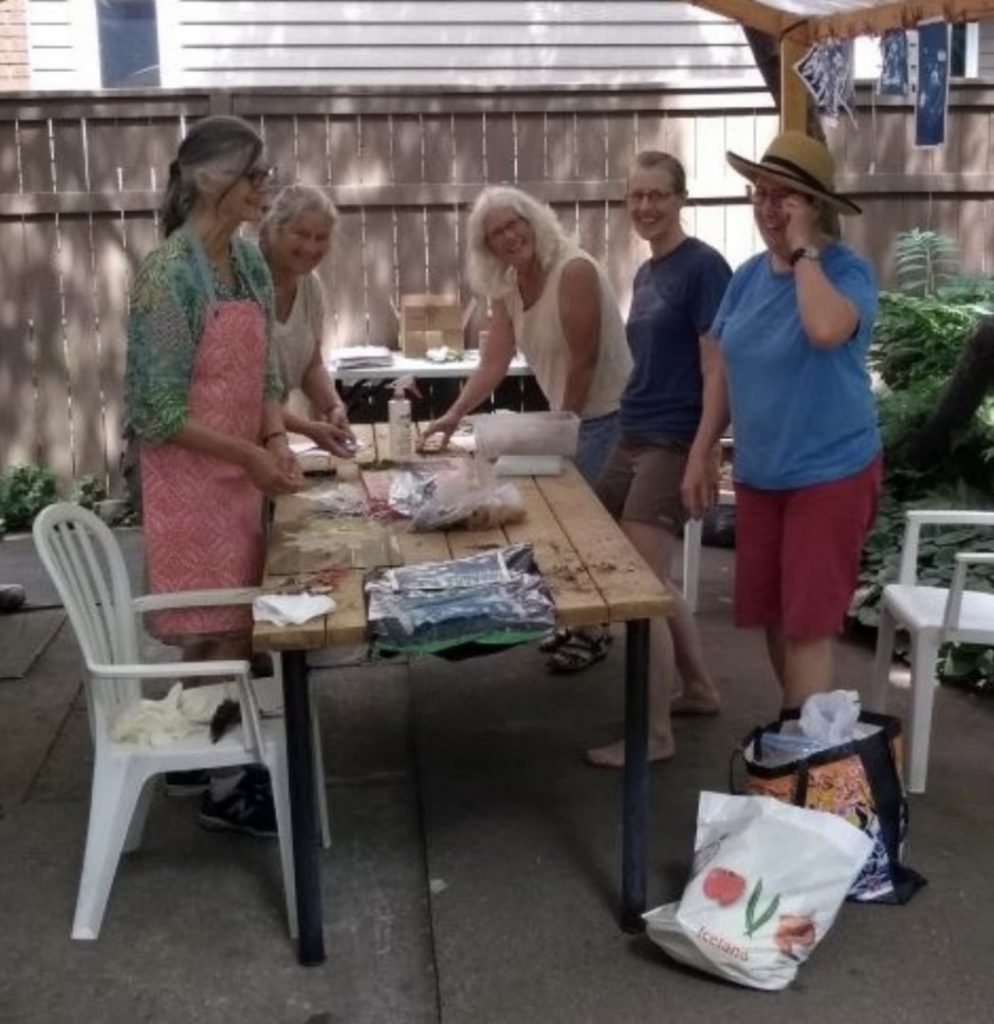
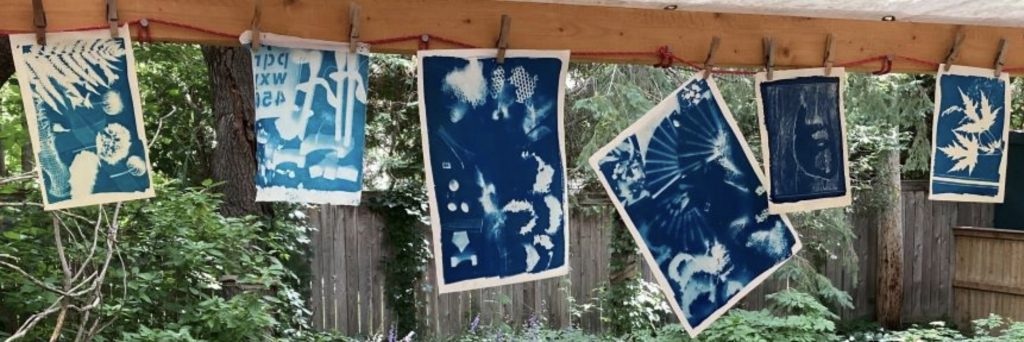
PUTTING IT ALL INTO PRACTICE
Deidre Hierlihy, Val Bridgeman, Luigina B, Shealagh Pope, and Katherine Stauble got together IN REAL LIFE to try out cyanotypes. Below is some of the output from a very fun and productive morning.