

by F. Walker
Why would you want to pre-mix a green hue and store it in a tube? Is it not easier to just mix yellow and blue on your palette and hope for the best? However, if you want a consistent green that is pre-mixed according to a fixed formula, having a tube ready to go is very handy when you are in a hurry and you need to focus on mixing other colours.
I often wondered, why, in oil painting, every brand has a Permanent Green Light until I bought a tube and realized how handy it is to have a consistent green that I can easily lighten or darken according to need. A little more blue will turn it into permanent green medium while more yellow will give you various shades of apple green.
Apparently, there is no reason to call the colour “Permanent green”; it just started that way and no one knows why. It has nothing to do with the permanence or lightfastness of the pigments. In fact, in the case of printing inks, the yellow that is used is mostly PY3, or Hansa yellow which is listed as moderately lightfast.
For the purpose of this mixture, we will use Process yellow and Process blue from Calego Safe Wash ink. This Process yellow is listed as PY3, or Hansa yellow, a Monoazo, also called Arylide yellow. The masstone is a bright lemon yellow with a slightly greenish undertone. It is semi-transparent. It is best to avoid the Diarylide yellow as the undertone has a reddish tint. Hansa yellow is a synthetic organic pigment. Organic yellow pigments tend to be less lightfast than non-organic pigments such as the cadmium yellows. The Process blue used in the mixture is phthalocyanine blue or PB15:3, which has a deep blue in mass tone with a greenish blue in shades. The phthalocyanine family of pigments has good lightfastness, but dulls over considerable time.
So here’s an easy way to make a tube of your own permanent green. In the post Transfering ink we saw how easy it is to fill an empty tube with ink.
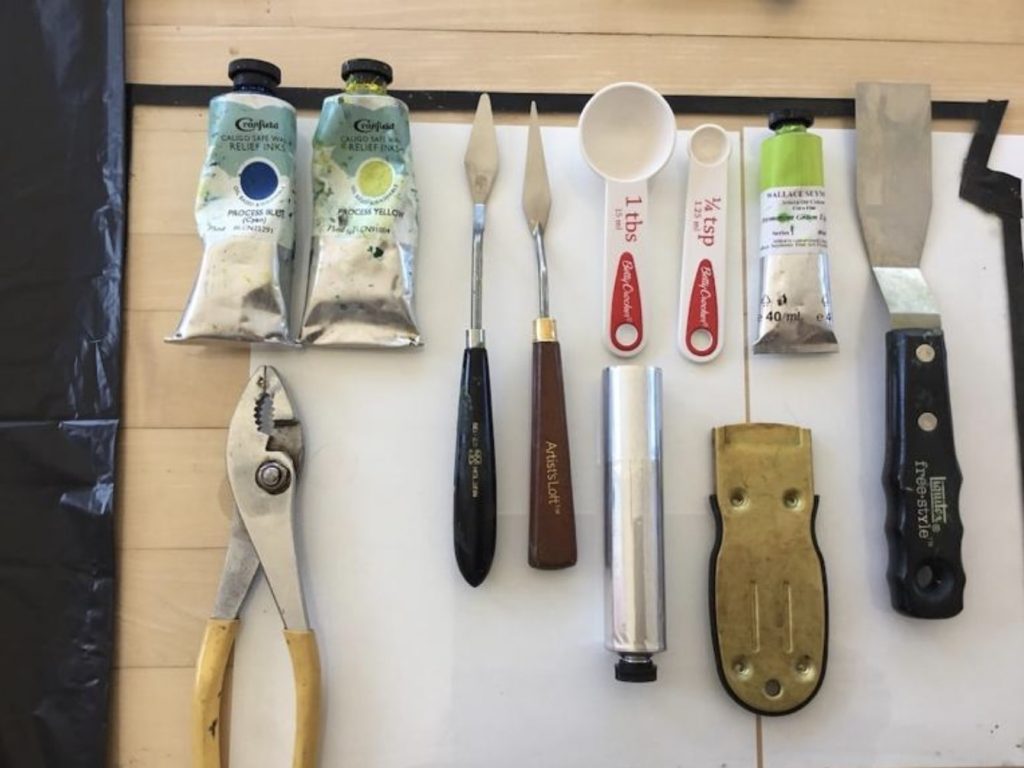
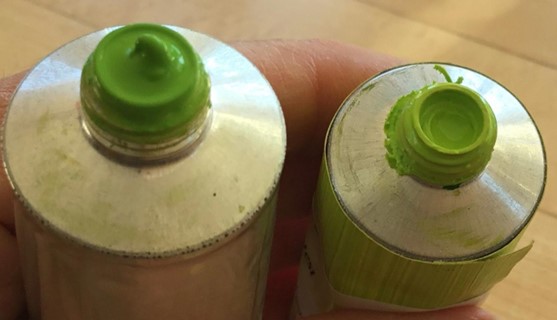
So let’s start … you will need (Fig. 1) :
- One tube of process yellow
- One tube of process blue
- A glass plate
- A large palette knife
- A small palette knife
- One tablespoon (for use with the yellow)
- One 1/8 teaspoon (or 1/4 tsp for the blue if you wish to double the recipe)
- One 37 ml tube
- A pair of pliers
Recipe:
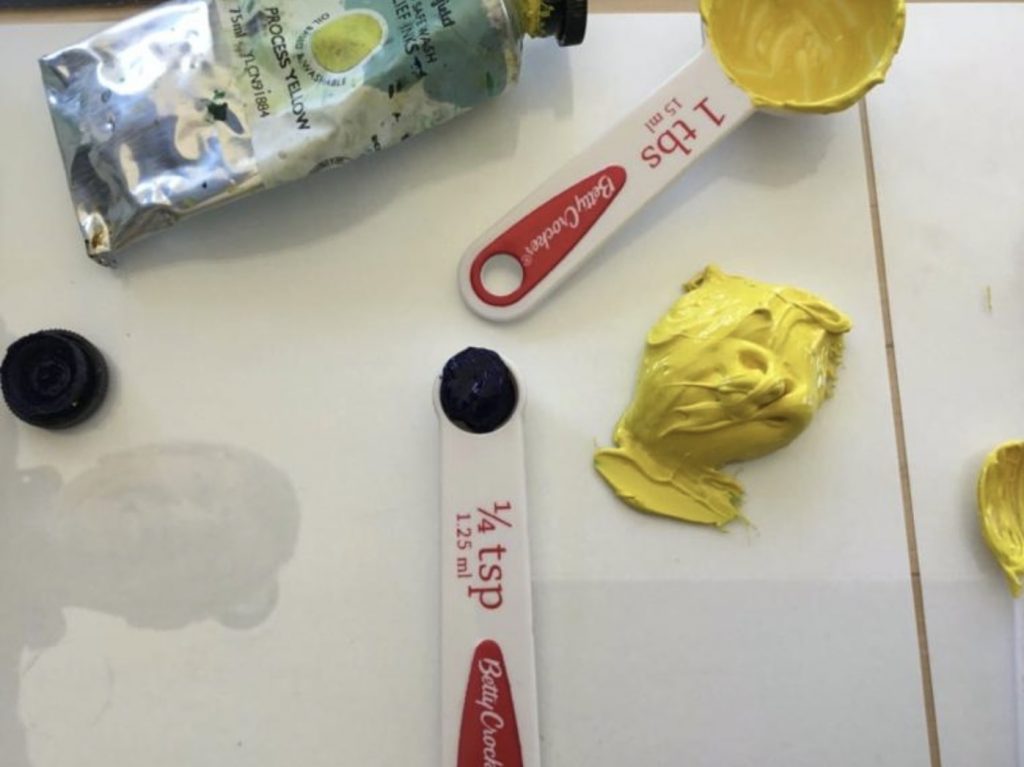
You will use a larger amount of process yellow and a much smaller amount of process blue. You want to achieve a middle to light green, not too light but certainly not too dark. It is much easier to darken a color later on than to try to light it. So decide what shade of green would be suitable. A good idea is to use a tube of permanent green from a reputable brand in oil paint and try to match it.
My recipe was the following: ( I doubled the recipe to fill the 37 ml tube). These proportions are approximate and may vary according to the brand of ink that you are using.
1 tablespoon of process yellow
1/8 teaspoon of process blue
Instructions:
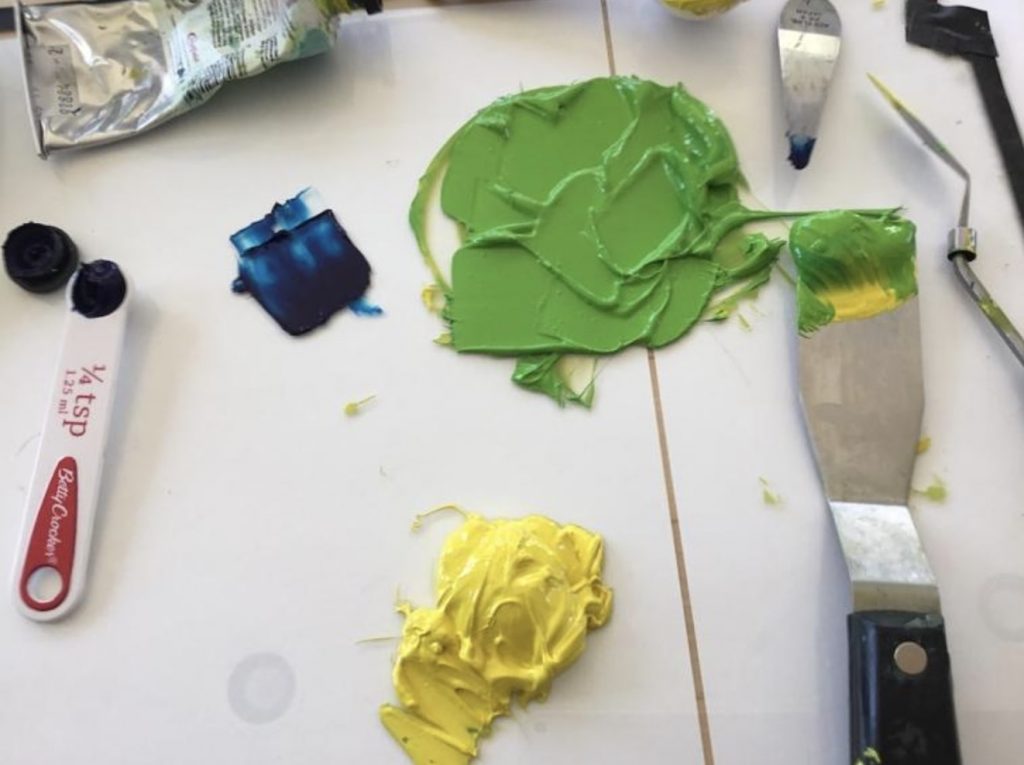
Spread the yellow on a glass plate (Fig. 2). Work the ink until it is soft. Start adding the process blue, slowly until you get the desired hue. Compare that with the permanent green light in oil paint. I used the Seymour Wallace Permanent green light fine oil purchased from Select Fine Arts on St Joseph Blvd in Orléans to get a match. If your green is too dark, as in Fig. 3, just add more yellow.
You may want to do only one recipe and fill only half the tube, depending on your needs. Start filling your empty tube using the hints from post Transferring Ink. Loosen the cap and tap down to get the ink flowing. Stop around 2/3 full and start pressing down on bottom end. Use pliers to pinch the ends together. Fold the ends twice.
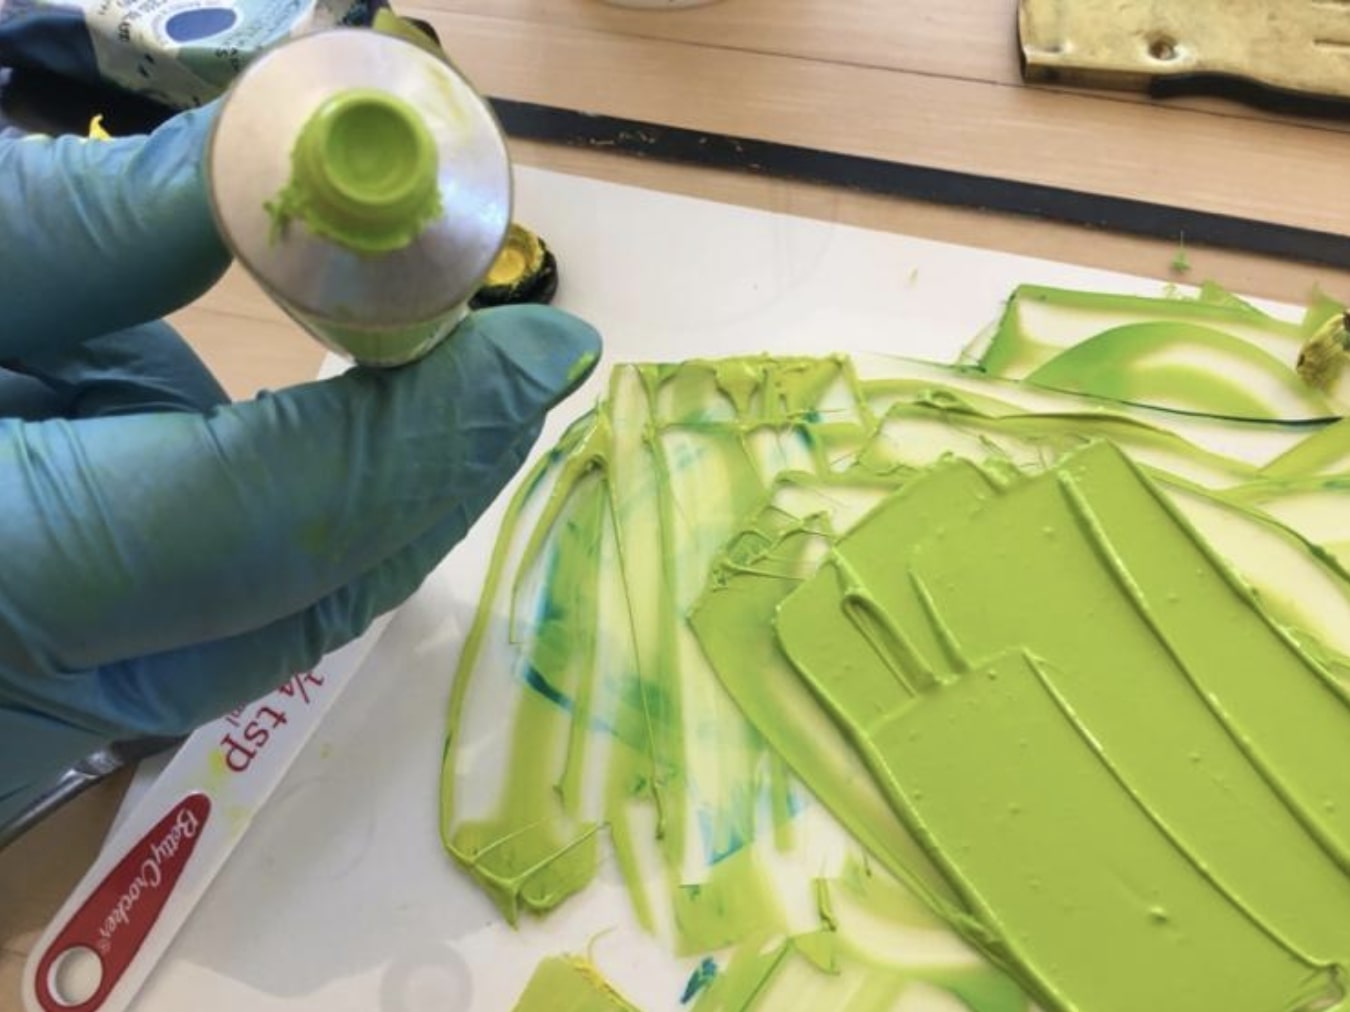
You will now have a nice tube of permanent green. (Fig. 4) When you want it lighter on your palette, it is then easy to add some yellow; if you want it darker, just add a touch of blue. Fig. 5 shows the home-made green and the Seymour Wallace Permanent green.
All photos courtesy of Francine Walker