Shenkman Arts Centre, Ottawa School of Art Orleans, Print Studio $45 per workshop. Instruction in English primarily
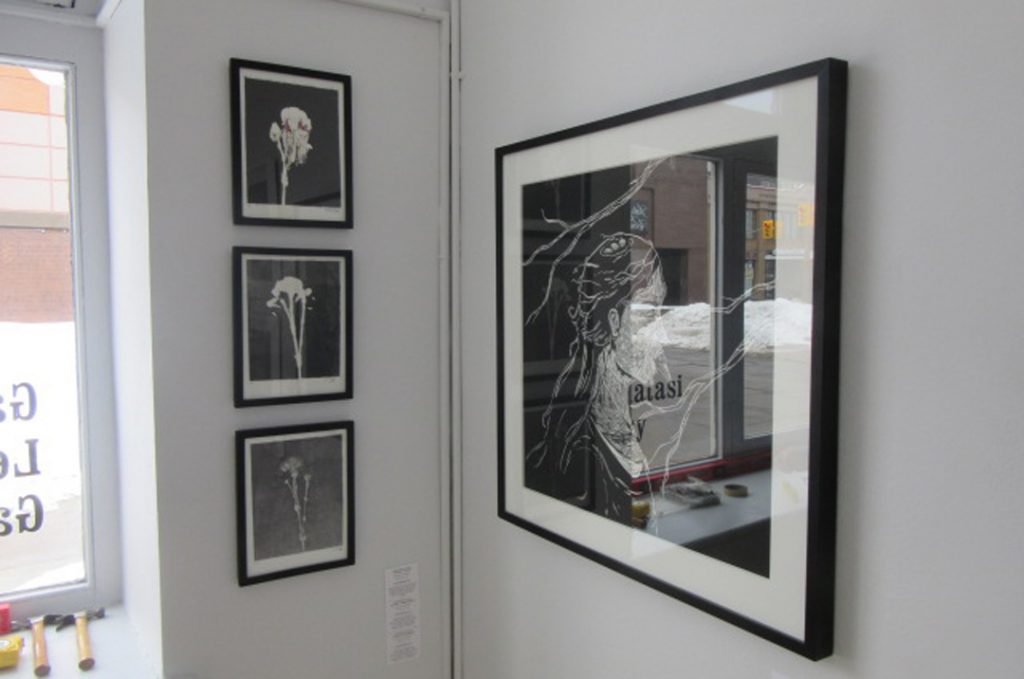
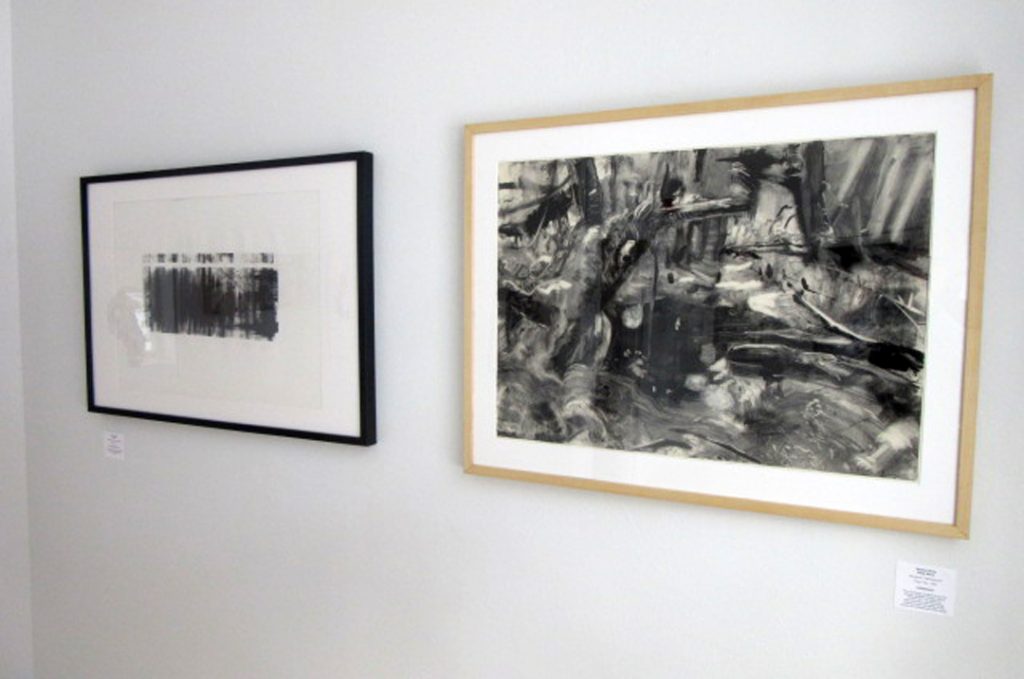
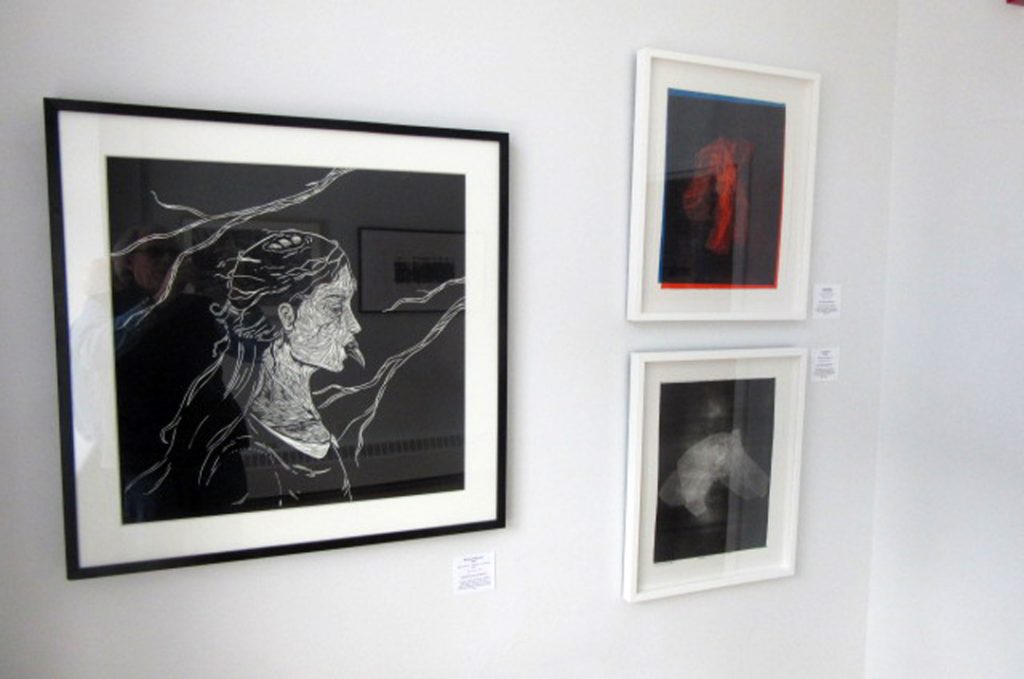
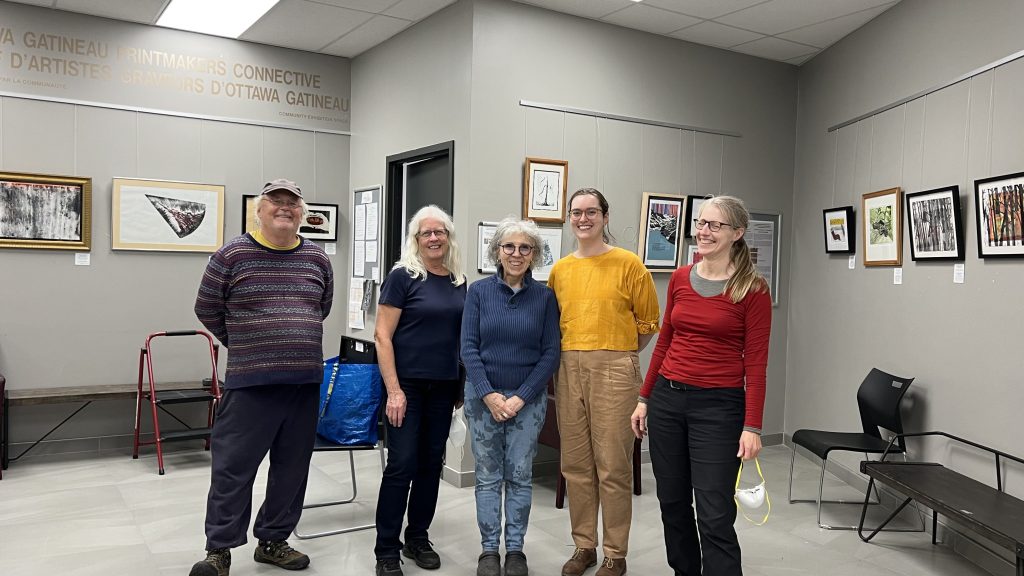
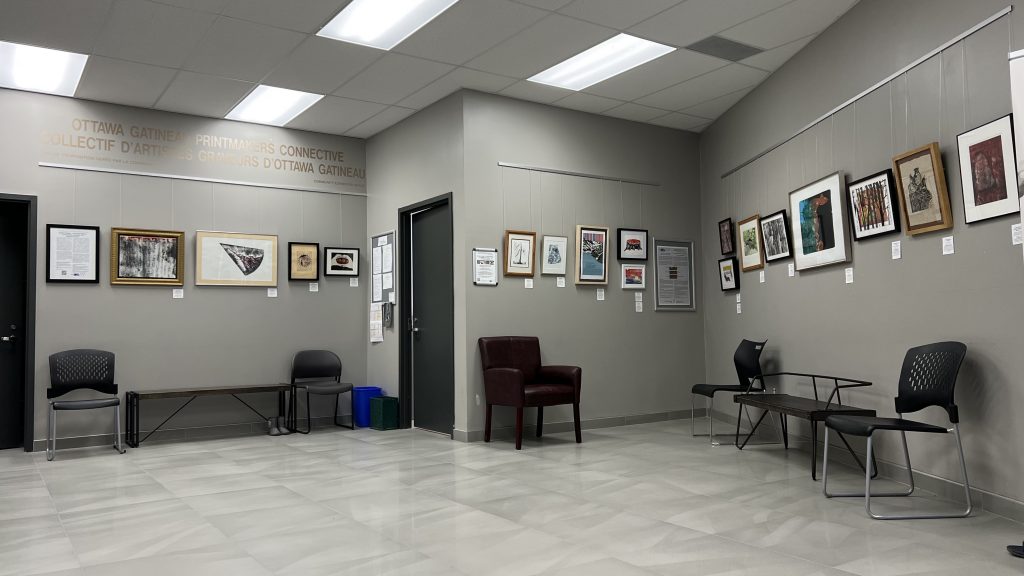
For novice or experienced printmakers, these three workshops are meant to introduce or reintroduce printmaking at an easy level. Come join a print artist from the Ottawa Gatineau Printmakers Connective and spend a day in the Shenkman Art Centre’s Print Studio. Held in conjunction with the show Print Pairings: Colour versus Black and White, which is currently on display in the OSAO Gallery.
Sunday June 11 Workshop, 9:30 to 4:30. $45.00
Printmaking: Reduction Block Prints, and Introduction
With Artist Instructor: Lydia Uppington
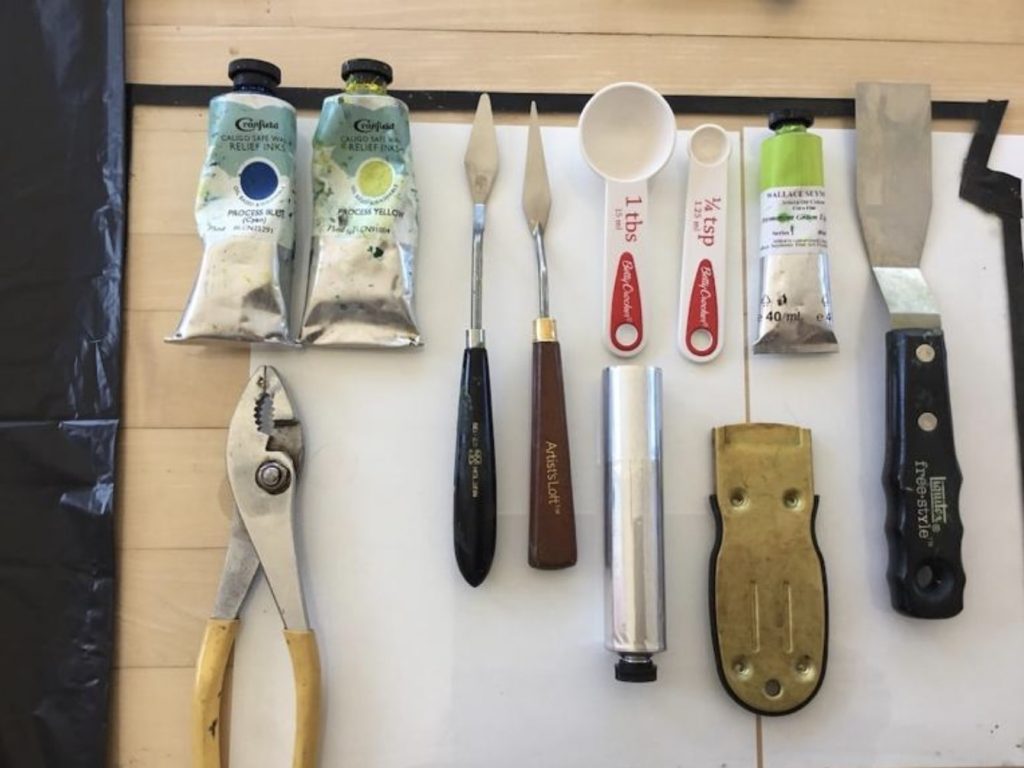
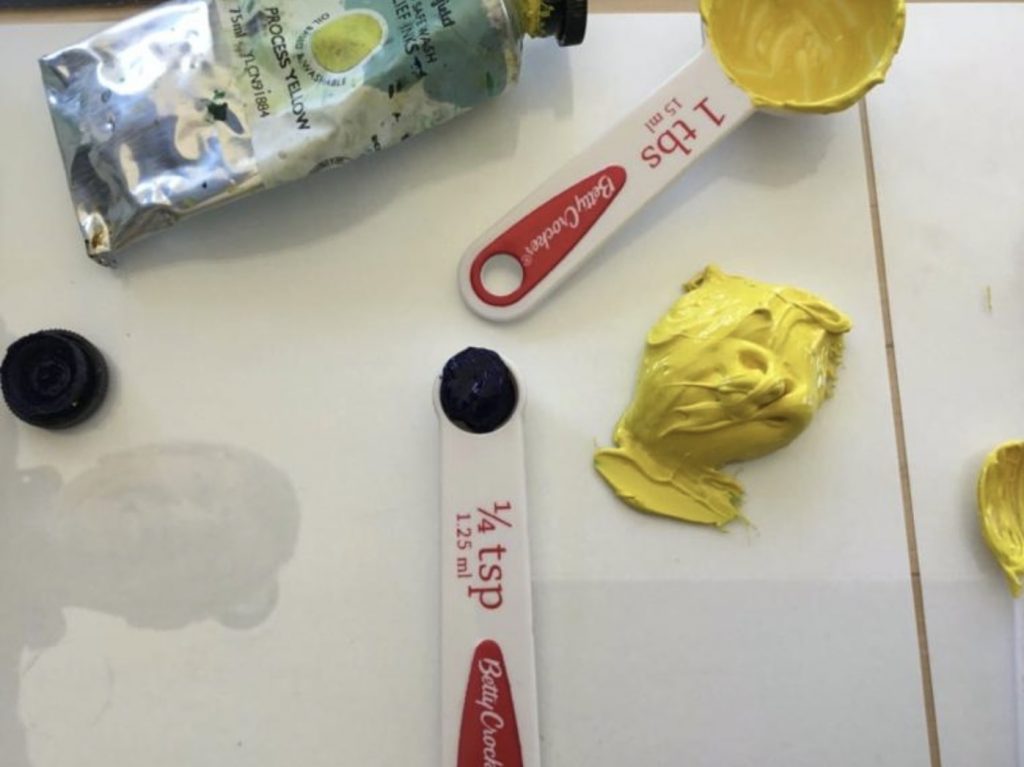
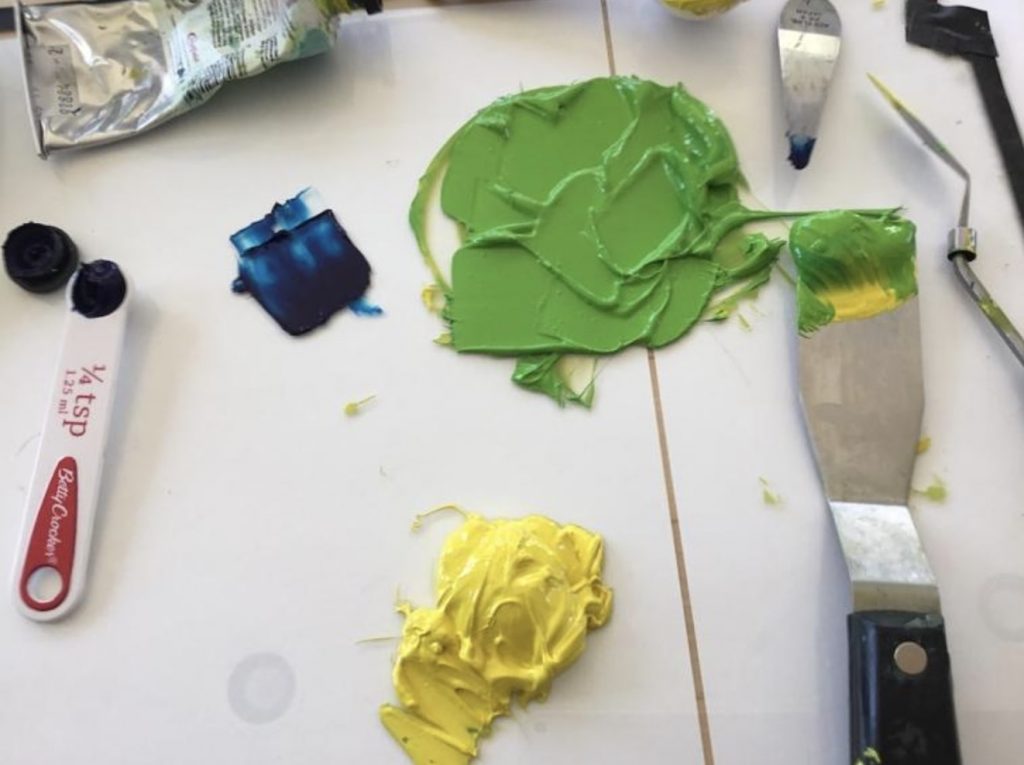
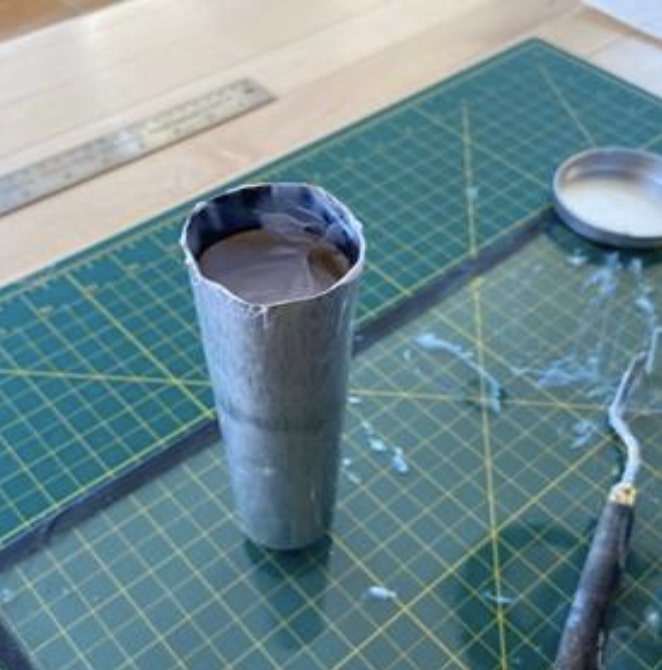
Reduction block printing is the process of creating a multi-layer print from a single block. Each block is carved, printed, carved again (“reduced”), then printed again—as many times as desired—to achieve layers of colour and depth.
Suitable for beginner printmakers, including people who have never done any block printing previously, and those who have some prior knowledge/experience.
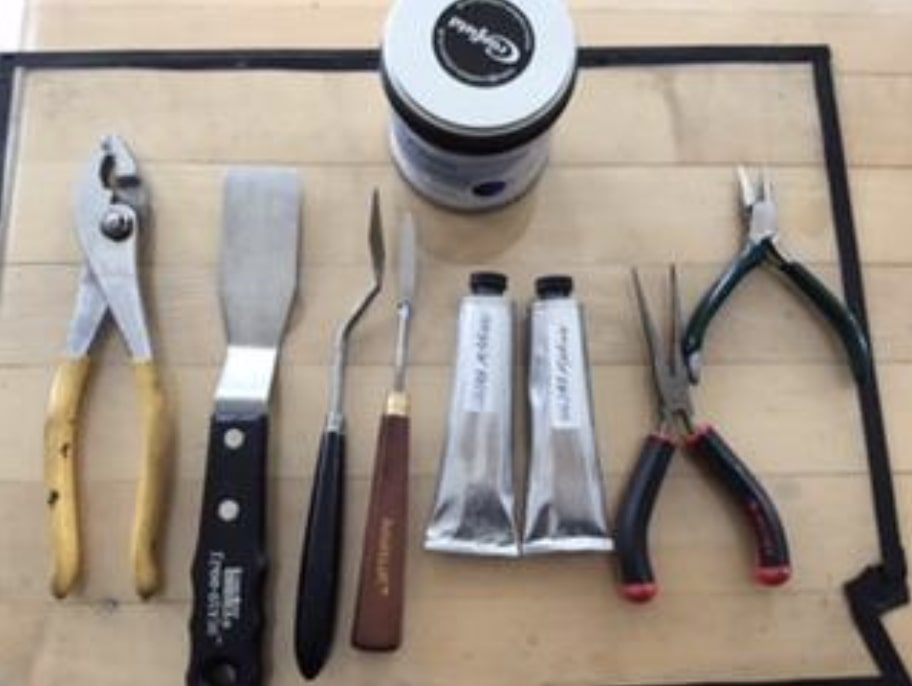
All materials included.
Friday, June 16 Workshop, 9:30am-2pm. $45.00
Printmaking: An Introduction to Monotype Techniques
With Artist instructor: Tina Petrovicz
Monotypes are a special kind of printmaking that creates a single and unique impression. In this fun introductory workshop, participants will try their hand at three different mono-printing techniques, with and without a press. The three techniques are: Reverse drawing, reductive inking and layering with textures. Each technique will be demonstrated and then participants will have time to explore the technique.
All materials included.
Saturday, June 17 Workshop, 9:30am-4:30pm. $45.00
Printmaking: Monoprints for Painters: Black, White, and Colour
With Artist Instructor: Murray Dineen
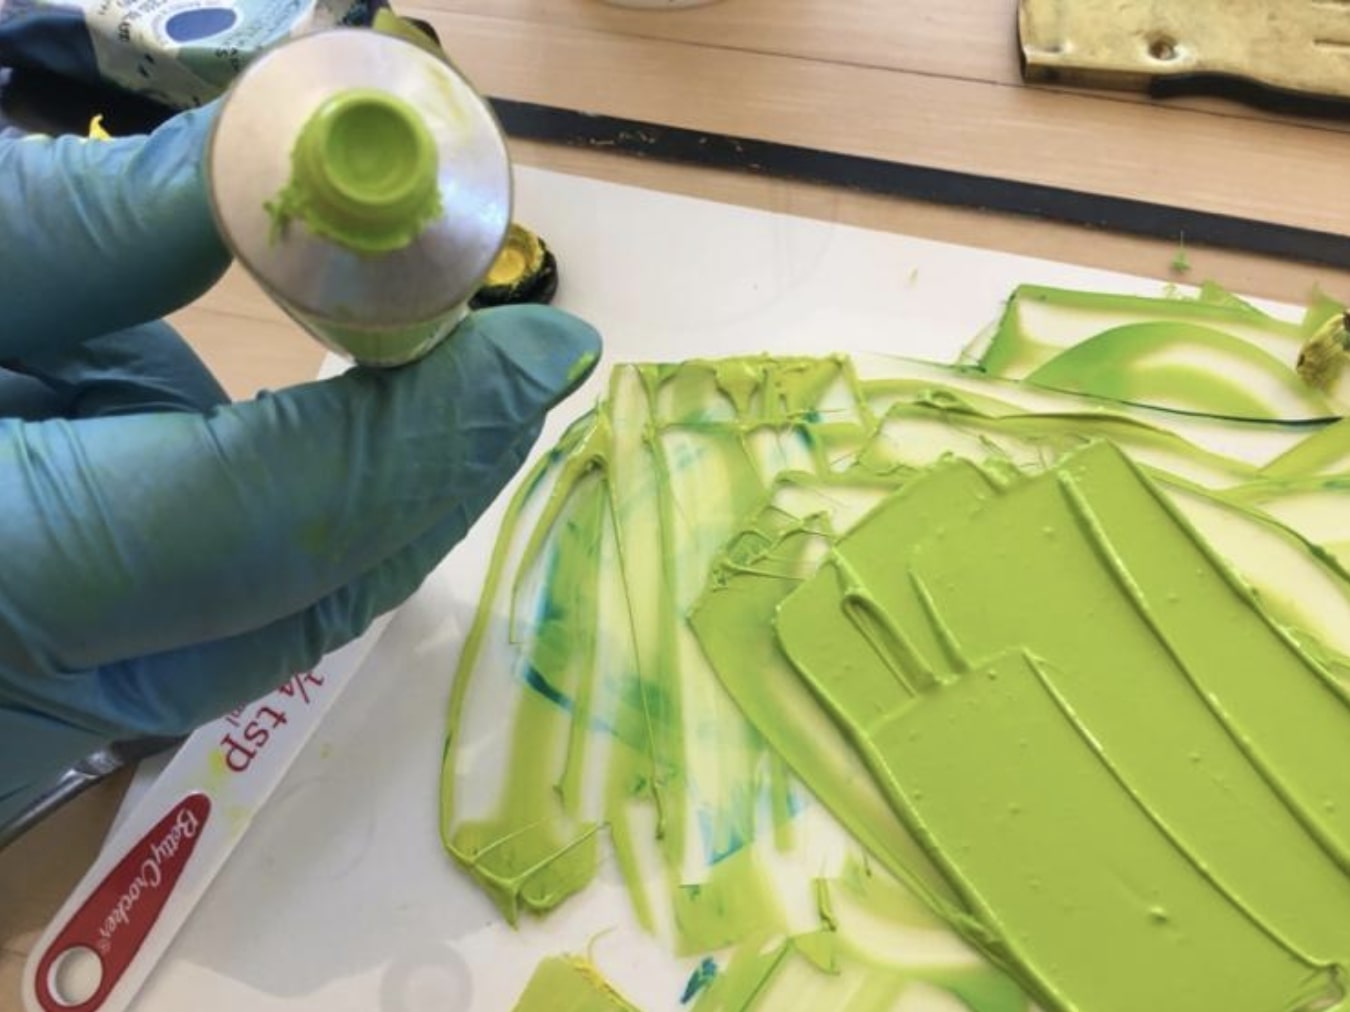
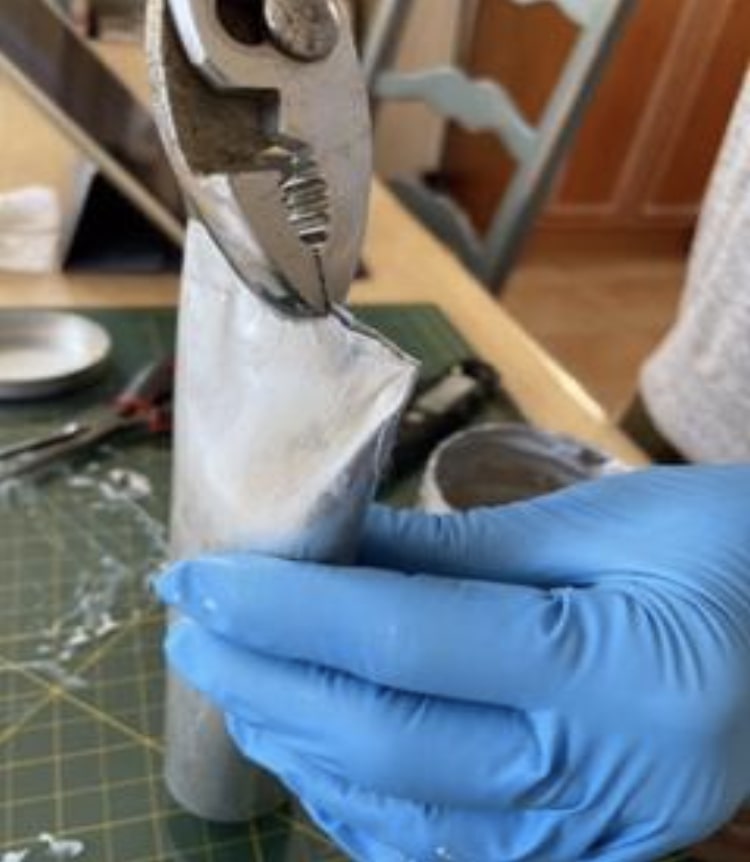
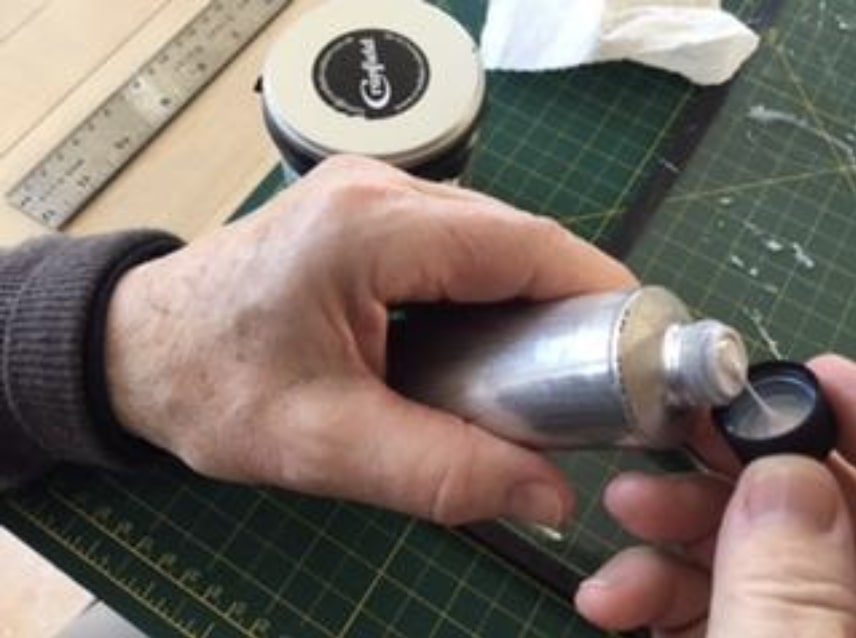
A demonstration of printmaking in its simplest technical form, by painting inks and acrylic or oil paints on metal or plastic sheets, and then either running them through the press or printing by hand. This workshop is designed in particular for artists with little or no experience in printmaking, or who haven’t printed in a while. No toxic solvents will be used. Most materials included.
To register to these courses, please go to the Ottawa School of Art’s website, find “Courses,” then “Short Courses,” then “Orleans”, or click on this link: OSA Orleans Short Courses